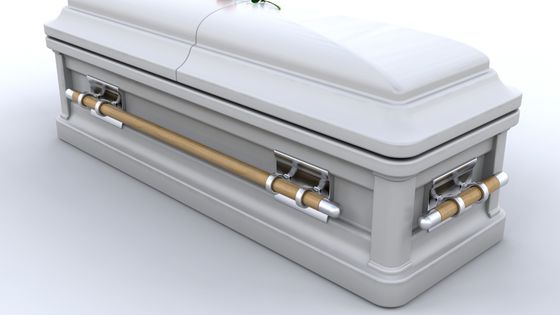
Casket picture in just six easy steps! Many of our community’s events and trades are toasting life and new fronts. However, it is also true that sometimes someone will be expending tribute at the end of a well-lived life, and these events are just as important as the celebrations. People often choose to rest in a beautiful casket, which can come in many different designs and shapes. While it’s not a lighthearted subject, it can be an interesting challenge to learn how to draw a coffin. This tutorial that you have before will show you how you can do that. Our step-by-step guide on drawing a coffin will walk you through the steps of drawing this solemn object. pencil drawing ideas
How to draw a coffin – allows contact formed!
Step 1
There will be quite a few consecutive borders that we will draw in this focus on how to draw a casket, so you may want to have a convenient monarch to make things more comfortable. We’ll draw this coffin from left to request, arranged so that the lid barely rises from the top for a more emotional feeling. It would help if you created it by removing the lid on the coffin. This will have three advantages, and you can draw a parallel line on the sealed edge to create it look like it has some chasm. Then we’ll draw some easy line details to make it look like it’s made of wood. You can also use your ruler to draw a large cross on the lid. Ultimately, utilizing the contact photo, you can remove four more consecutive bars to form the face of the casket.
Step 2: Next, complete the design of the sarcophagus lid.
For the double part of your casket illustration, we will finish the outline of the lid. You can add two more extended strings than you drew earlier. As shown in the contact image, these lines will be negligibly more intimate as they go. When you’re done with the outline, you can count occasional streaks for more wood detail.
Step 3 – Draw the Opening for the Coffin Below
We will draw the coffin’s space in this third step of our direction on how to draw a coffin. To do this, use some clear lines similar to the body of the sarcophagus lid so that the figure of the space reflects the condition of the lid. This can be tough to get good, so you may enjoy looking near the reference image as you pull and try to copy it as it seems. You’ll then be ready to draw some more of the coffin in the next step, so let’s proceed!
Step 4: Now, begin attracting more of the casket.
This fourth stage of removing your casket should be rather brief! Using your ruler, all you need to do is unfold two more straight lines. One will be standing, reaching down from the junction of the casket. The other will be more fibbing and negligibly vaster, working at a small rise, reaching the rest of the coffin. You can add a small, round body for the sarcophagus hold on the side, and then you’re prepared for some complete details in the next part.
Step 5 – Finish Your Coffin Drawing
We’ll finish the image in this step of our guide on drawing a coffin, which will have you ready to color in the final step. First, we have one more edge of the coffin to draw, which will be the narrowest of the edges closest to us as viewers. You can then finish by drawing a line through the centers of the longest and shortest edges of the coffin, adding some handles once you’re done.
Before proceeding to the final step, you can also add some details. You could draw a background or add more letters to the coffin. If you want the image to have a Halloween feel, perhaps you could draw a vampire emerging from the coffin. How will you end your coffin?
Step 6 – Complete Your Casket Sketching With Some Dye
This is the final step of drawing your coffin, and in it, we will complete the image by adding some color to it. Caskets are often made of wood, so we reflect this by using lighter shades of brown for the casket itself. We used slightly darker tones for the handles and the inside of the coffin to add more dimension to the image. We used these colors for our example, but you could use some of your hues instead. Coffins are usually associated with sad funeral events, so you could go for this look using softer mediums like watercolors and colored pencils. What colors and mediums will you choose for your image?


